The pencil is a fascinating tool, whether you’re using graphite, chalk or colored pencils. It can give you rich, warm lines and tones, depending on how you use it when creating a portrait. While in art school years ago, I fell in love with the engraving line style of illustrators from the early 20th century. Artists like JC Leyendecker, James Montgomery Flagg and Charles Dana Gibson captivated this art student with the rhythm created by their strokes, whether using pencil or pen and ink.
Emulating their thinking and style during early education brought attention to other artists that inspired, such as Paul Calle`! His mesmerizing draftsmanship with pencil opened a doorway of realization that the pencil has magic qualities in the hands of the right artist! And although styles grow and evolve with the times, one thing remains constant: the pencil can produce magic!
So how do you create a pencil portrait?!
Getting Started!
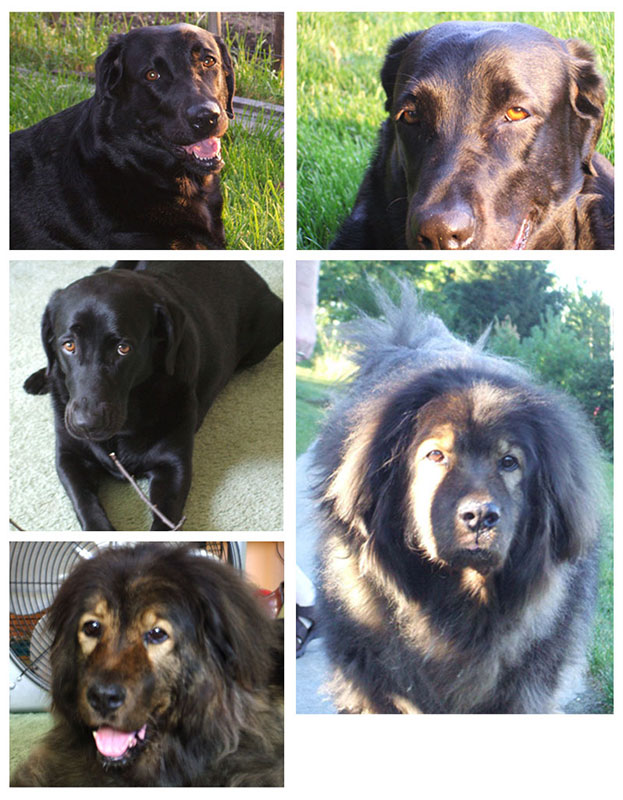
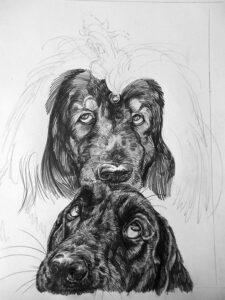
First you need to find the reference photos you’re going to work from and determine how many subjects will be in the final drawing. This will help you establish a comfortable size to work from! As an example, I’ll show how I developed the cover art for a children’s book, Who Ate the Gelato?!
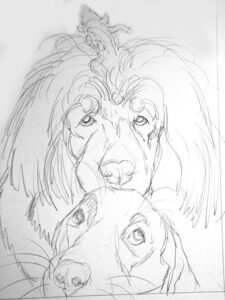
Once you’ve got your photos to work from, start by a simple light pencil sketch on illustration board or a good quality drawing paper, to establish how large your subjects will appear.
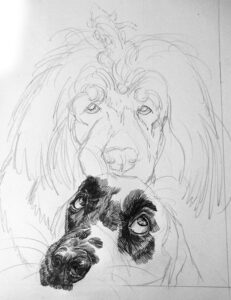
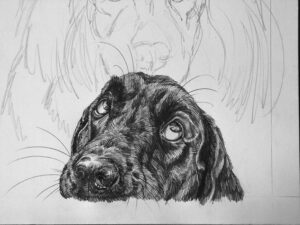
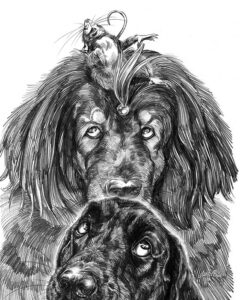
Now that I have all the subjects in place within my composition, I go back with a kneaded eraser (a soft, pliable eraser) and lightly erase some of the rough sketched lines. After that, the final pencil rendering proceeds rather quickly! I like to work with a slip sheet under my drawing hand (a plain white sheet of paper) which allows me to work on any part of the drawing with little or no smudging of my pencil work! Rendering fur is always fun for me, whether it’s short-cropped or long and curly!
Once I’ve completed the pencil drawing to my satisfaction, I lightly spray the work with a clear but durable fixative to protect the pencil work from smudges. Since this artwork was used for the cover of a children’s book, it was scanned and then received layer upon layer of color in Photoshop! The final result is colorful, but maintains the integrity of the pencil work!
Each and every portrait is different, and each and every portrait receives the same attention to detail, whether it’s created with pencil or colored pencils. That results in the consistent quality all clients expect!

